A while ago I wrote a post on how I managed to get my systems integrated with Office365 to send email notifications. At the time the method I used worked well enough but it was annoying. Every system had to log in individually which meant the username and password had to be distributed to every system. Certainly not my favorite thing.
Since then I've learned that Office 365 has something called "Connectors". A Connector is something like a VPN tunnel in that it allows you to send mail through a trusted connection1. The idea being that if you can connect to the connector then you've already been sufficiently proofed to do fun things.
What really attracted me to the idea of one of these Connectors was a slight change in my use case. We brought an application on board that sent emails directly instead of relying on the system mailer. This wasn't overly surprising, but the real sticking point was that it also attempted to perform a Send-As. One of the caveats from the previous post was that all emails had to be sent from the user account that was being used for authentication. All of a sudden our previously working system wasn't. However, by using a connector the mailer is considered fully trusted and can send emails from any address, so long as it matches the relevant domain.
In order to account for the new app I opted to redesign my services mail flow a bit. Now instead of every host authenticating directly to Office 365 I will have a single server whose dedicated function is to act as a mail relay. All services will use the mail relay as their smarthost and the mail relay will connect to Office 365 using a connector.
Create the Connector
- Log into your Office 365 instance using an Administrator account.
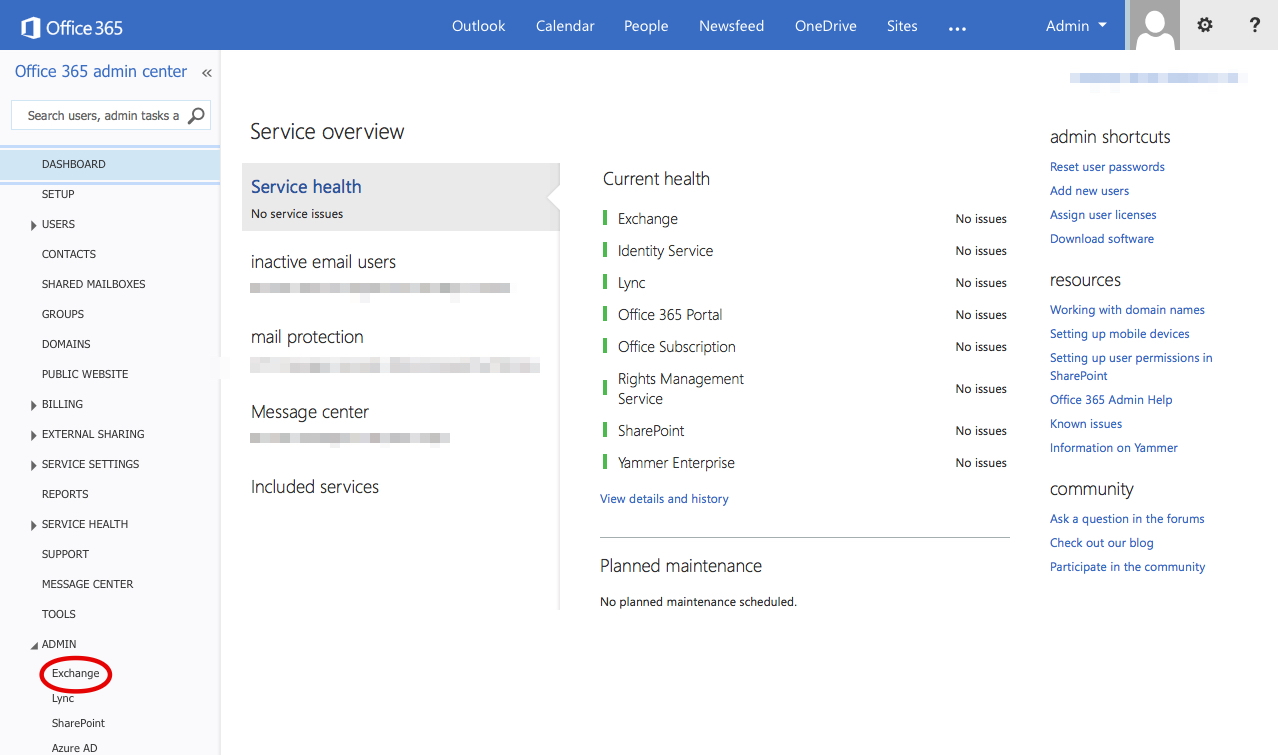
- From the main Dashboard expand 'Mail' on the left hand side and click on 'Exchange'.

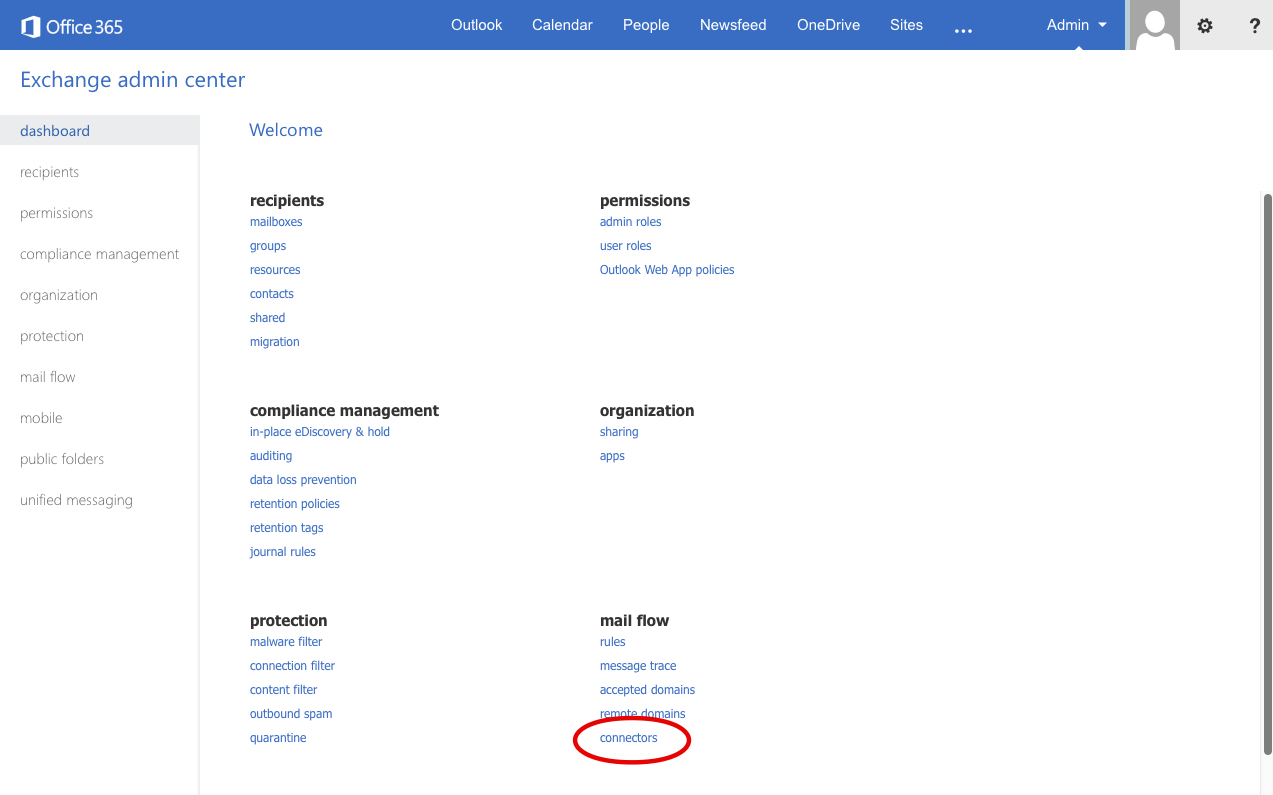
- This will bring us to the main Exchange management screen, from here we want to click on 'Connectors'.

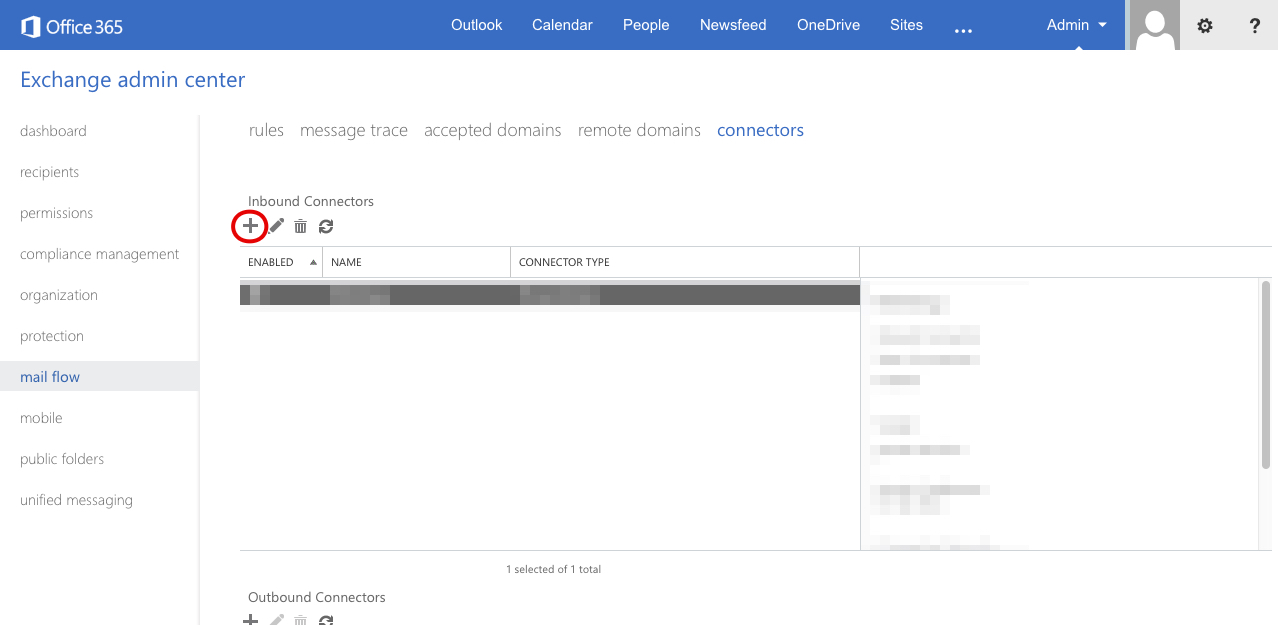
- Click the '+' to add a new connector.

- Give it a fluffy name, this is purely an identifier so you can recognize the connector later.
- Select 'On-premises' since our relay is on our site.
- Under 'Connection Security' make sure 'Force TLS' is selected.
- Under 'Domain Restrictions' we have a couple of options. "None" means anyone can use this connector, "Restrict domains by certificate" means we'll use an x509 certificate as authentication, and "Restrict domains by IP address" means we'll only allow specific IP addresses to use the connector. For my purposes I want to use certificate so we'll select 'Restrict domains by certificate'. Under 'Certificate' enter the CN that will be used by the local mail relayer.
Appropriately choosing your 'Domain Restrictions' is pretty important. Restricting by IP address can be pretty not bad, but if you're in a NATed environment be careful you don't accidentally increase your scope. In my case I didn't want to put my mail relayer in our DMZ, so it was 1-to-many NATed, and I actually have a certificate I can use for this host. Those two considerations made choosing "by certificate" pretty much a no brainer.
The last option is "Associated accepted domains". If you try to add anything here you'll be shown a list of all domains you have management rights in Office 365. If you add any domains here then the connector will reject any emails that are destined for another domain. If your services will only be mailing internally then this setting may work for you. If you do anything externaly, like email based alerting with a hosted provider, you'll want to leave it empty.
Configure the Mail Relay Host
This assumes you already have a server you want to use as your mail relay system. I wanted one so I made one. Building such a host is beyond the scope of this post and is left as an exercise for the reader.
On your mail relay host edit /etc/postfix/main.cf so that it looks like:
relayhost = [domain-com.mail.protection.outlook.com]
smtp_sasl_security_options = noanonymous
smtp_sasl_tls_security_options = noanonymous
smtp_tls_security_level = encrypt
smtp_use_tls = yes
smtpd_tls_cert_file = /path/to/private/cert
smtpd_tls_key_file = /path/to/private/key

mynetworks = 127.0.0.0/8, 10.0.0.0/8
The relayhost name is a bit odd. Office 365 always creates the DNS name for you but leaves it in
the format ${fqdn}.mail.protection.outlook.com where any periods of your email domain in the
fqdn are replaced with hyphens. That is, if secopsmonkey.com were hosted by Office 365 I would
use secopsmonkey-com.mail.protection.outlook.com.
We're also using the mynetworks option for access restriction. This is how we tell postfix which
IP addresses are allowed to send email to it. In the above example we're telling the relay host
that any host within 127.0.0.0/8 or 10.0.0.0/8 are allowed to send email to it. You should change
those values to be your trusted environment.
Once you restart postfix it will be able to connect through the connector using the x509 certificate for authentication. Now any messages sent from this server will be routed through Office 365 by way of the connector.
Configure the Endpoints
As for the client machines we just need to point them at the mail relay host.
relayhost = [mailrelay.domain.com]:25
smtp_sasl_auth_enable = no
smtp_tls_security_level = may
smtp_sasl_security_options = noanonymous
Once we restart postfix it will start relaying through the mail relayer which authenticates to
Office 365 through the connector.
Once all this is set up we're freed from the earlier restriction of having to rewrite the from addresses of all of our emails. It also means we have a single choke point to monitor and manage for our outgoing messages.
-
Ok it's really not so much a secured tunnel as it is an assumption of authenticity. In that way it acts more like the REMOTE_USER field in a web server. ↩